
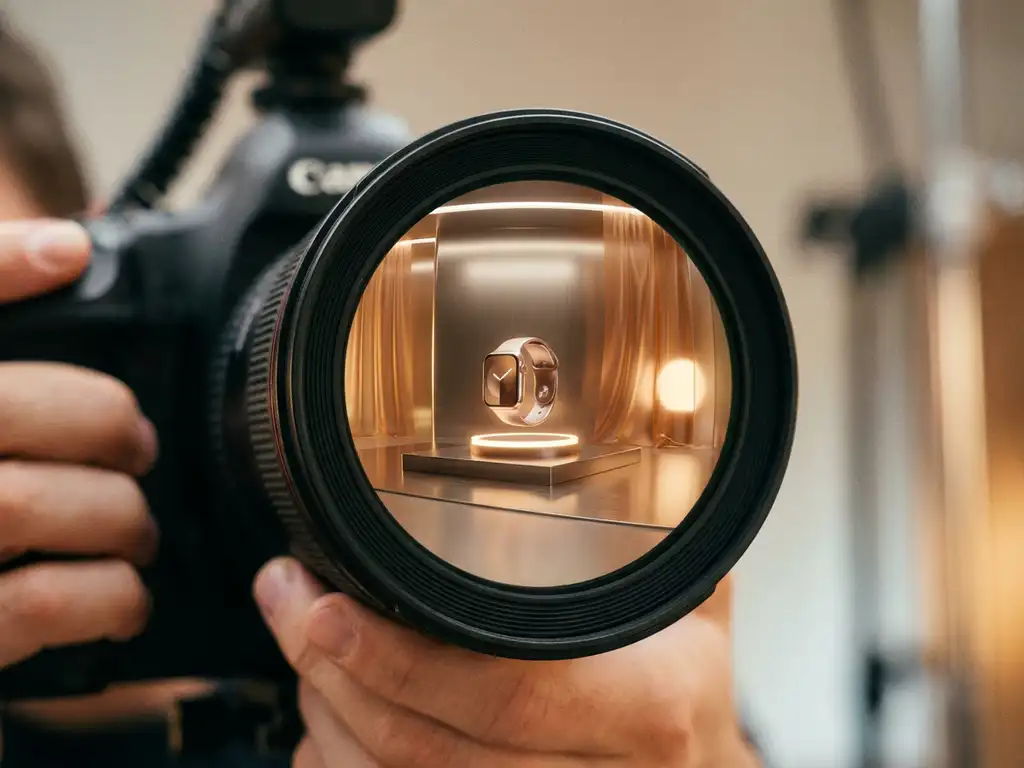
What makes an image photorealistic is not a single technique but a precise combination of five interdependent elements, and getting all five right is what separates product visuals that convert from those that erode brand trust. Photorealistic images achieve visual fidelity that is indistinguishable from real photography by accurately simulating how light interacts with surfaces, materials, and camera optics. For luxury and design brands, mastering these elements is not optional — it is the foundation of credible premium positioning. The five critical elements are: precise lighting calculations, authentic material properties, realistic textures, proper camera simulation, and controlled imperfections that make images feel naturally human.
What does photorealistic mean in digital imagery?
Photorealistic means visually indistinguishable from a real photograph — achieved by simulating the physical behavior of light, surfaces, and camera optics with mathematical precision. A painting can capture a scene beautifully, but a mirror replicates it exactly. Photorealistic rendering is the digital equivalent of that mirror: not merely an image that looks good, but one that replicates precisely how a camera would see the same scene. The photorealistic meaning extends well beyond aesthetics into measurable commercial outcomes, as brands that achieve true photorealism in their product imagery consistently report stronger conversion rates and higher perceived product quality.
Photorealism in digital imagery has its roots in early ray tracing research from the 1980s, when computer scientists first attempted to simulate light physics mathematically. Over the following decades, rendering technology evolved from slow, experimental outputs to the modern physically-based rendering (PBR) engines that have made truly photo realistic images achievable at commercial scale. PBR workflows calculate how light bounces, reflects, and refracts through different materials, incorporating accurate color reproduction, proper exposure values, and realistic depth of field effects. The perceptual threshold for photorealism is defined by the human visual system: an image is photorealistic when no visual artifact — no unnaturally clean surface, no physically impossible shadow, no missing imperfection — triggers the viewer’s subconscious fake-detection response. This standard is distinct from hyperrealism, which deliberately exaggerates detail beyond what a photograph would ever capture. Modern photorealistic rendering also incorporates the subtle imperfections and irregularities that occur naturally in real-world photography, such as slight lens distortions, natural color variations, and organic surface irregularities.
Photorealistic rendering vs. AI text-to-image models: what is the difference?
For commercial product visualization, photorealistic 3D rendering and AI text-to-image generation are fundamentally different tools, and the distinction is decisive for brands where precision and consistency are non-negotiable. AI diffusion models generate imagery by learning statistical patterns from large image datasets; physically-based rendering (PBR) simulates actual light physics on exact product geometry. The two approaches differ across four practical dimensions that matter most to marketing and e-commerce teams.
AI text-to-image diffusion models — exemplified by research such as Google’s Imagen (Saharia et al., 2022) — generate photorealistic images by progressively refining random noise into a coherent image guided by a text description. The results can be visually striking, and the technology has advanced rapidly. However, for commercial product visualization, the differences between AI-generated imagery and physically-based 3D rendering are decisive across four practical dimensions:
- Input control: A diffusion model works from a text prompt, producing statistically plausible outputs that may vary between generations. PBR-based 3D rendering works from precise product geometry, delivering deterministic, repeatable results every time.
- Physical accuracy: AI models approximate the appearance of photorealism through learned patterns. PBR rendering simulates actual light physics on exact product surfaces, a critical difference when material fidelity is non-negotiable.
- Brand consistency: AI outputs are inherently variable, making it difficult to guarantee that a product render matches brand color standards, finish specifications, or proportional accuracy across an entire catalog. PBR rendering guarantees consistency across every variant.
- Commercial scalability: PBR-based rendering supports unlimited SKU variants from a single material library, with every variant guaranteed to be accurate and on-brand.
For luxury and design brands where precision, consistency, and brand control are non-negotiable, physically-based 3D rendering — as we practice it at 3Dimerce — remains the definitive standard for photorealistic product visualization.
The 5 key techniques for creating photorealistic images
Five techniques determine whether a rendered image is genuinely indistinguishable from photography. Each is interdependent — excellence in one area cannot compensate for weakness in another. Together, they define the technical standard for photorealistic product visualization.
- Precision lighting and global illumination: Accurate lighting calculates both direct and indirect light bounce to produce natural shadows, color bleeding, and ambient occlusion. This is the single most impactful variable in whether a render reads as real or artificial.
- Physically-based materials (PBR): Every surface is defined by mathematically accurate properties — diffuse color, roughness, and metallic values — that govern how it responds to any lighting condition. Without PBR materials, even perfect lighting produces unconvincing results.
- Texture mapping: High-resolution texture maps define surface variation at a microscopic level, from the grain of leather to the weave of fabric. Normal and displacement maps add tactile depth without inflating geometric complexity.
- Camera simulation: Replicating the optical characteristics of real photographic equipment — depth of field, chromatic aberration, vignetting, and focal length — is what makes renders feel like photographs rather than illustrations.
- Controlled imperfections: Introducing deliberate, physically plausible imperfections — subtle surface wear, micro-variation in material finish, natural environmental interaction — prevents the uncanny valley response that exposes even technically excellent renders as artificial.
Why do unconvincing product visuals cost brands customer trust?
When 3D product images look artificial, customers immediately question the quality and authenticity of the brand behind them. This visual disconnect creates a subconscious barrier that reduces conversion rates and weakens premium positioning. Industry data from e-commerce conversion studies consistently links low-quality product visuals to measurable drops in purchase intent, with some analyses reporting abandonment rate increases of 20% or more when product images fail to convey material quality accurately. This effect is amplified in luxury and design markets, where visual credibility is a primary trust signal and buyers make high-consideration decisions based on perceived quality.
The solution starts with understanding that photorealistic rendering is not just about technical quality — it is about creating an emotional connection. Consistent lighting across all product variants, material properties that accurately reflect real-world behavior, and visual coherence across all customer touchpoints are the three pillars that separate trusted product imagery from imagery that undermines it.
How do flat, lifeless renders signal deeper problems with a visual strategy?
Renders that lack depth, proper shadows, or realistic material response are a symptom of a technically inadequate rendering process, and customers read them as such. These visual shortcomings signal that the same level of care might not extend to product quality or customer service. The cost goes beyond immediate sales: flat renders affect long-term brand perception and customer loyalty in ways that are difficult to reverse once established.
Addressing this requires proper lighting setups that create natural depth and dimension, physically-based rendering (PBR) workflows that accurately simulate how different materials interact with light, and consistent quality standards maintained across the entire product range. These are not incremental improvements — they are the baseline for credible premium product visualization.
Visual Commerce Solutions
Talk to our team about your project.
How do lighting and shadows create photorealistic effects?
Lighting is the most impactful of all key techniques for creating photorealistic images, because it determines how viewers perceive depth, form, and material properties. Accurate lighting simulation requires calculating both direct illumination — light arriving straight from a source — and indirect illumination — light that bounces off surrounding surfaces before reaching the subject. Together, these calculations produce the nuanced, layered quality of light that human eyes have been calibrated to recognize as real across a lifetime of visual experience.
Global illumination techniques model these complex light interactions to produce natural-looking shadows with proper softness and color bleeding. The four key technical elements are:
- Ambient occlusion — subtle contact shadows where surfaces meet or are close together
- Realistic light falloff — intensity that diminishes naturally over distance, as it does in the real world
- Accurate color temperature — warm or cool tones that match the chosen light source type
- HDR lighting environments — high dynamic range images that provide authentic reflections and realistic lighting variation across the scene
Professional rendering workflows integrate all four elements to produce lighting that is consistent, physically credible, and indistinguishable from a professional photography setup.
What role do textures and materials play in photorealistic rendering?
Material definition determines how surfaces interact with light, making it one of the most critical variables in achieving believable photorealistic results. In physically-based rendering (PBR), each material is governed by a precise set of properties that together control its visual behavior under any lighting condition. No amount of excellent lighting can compensate for inaccurate material definition — the two are interdependent.
Surface definition
Every material in a photorealistic scene is defined by three core properties: diffuse color (the base color of the surface), roughness (how sharp or blurry reflections appear), and metallic value (whether the surface behaves like a metal or a dielectric). These properties are controlled through texture maps that define variation across the surface at pixel level, allowing a single material to express the full complexity of a real-world finish — from brushed steel to matte ceramic.
Normal and displacement mapping
Normal maps add the visual impression of fine surface detail — scratches, weave patterns, grain — without adding geometric complexity to the 3D model. Displacement maps go further by physically altering surface geometry for close-up renders where tactile detail must be convincing. Together, these techniques give rendered surfaces their sense of physical presence and depth.
Subsurface scattering
Materials like leather, fabric, skin, wax, and frosted glass require subsurface scattering — a rendering technique that simulates light penetrating the surface and scattering within the material before exiting. Without subsurface scattering, these materials appear flat and plastic-like regardless of how accurate other properties are. For luxury product categories where material authenticity is a primary purchase driver, subsurface scattering is not optional — it is essential. Accurate material rendering is ultimately what converts a viewer from passive observer to confident buyer.
Why do some 3D renders look fake despite high technical quality?
The most common reason technically well-executed 3D renders still look artificial is the absence of imperfections that real-world photography always contains. Overly clean surfaces, perfectly uniform lighting, and mathematical precision can trigger an “uncanny valley” response — where the image is clearly not a photograph, even if the viewer cannot immediately explain why. Understanding the photorealistic meaning goes beyond technical checklists — it is ultimately a perceptual standard defined by whether a human viewer can detect the image as artificial.
Specific causes of artificial-looking renders include:
- Material properties that do not match real-world physics (e.g., reflections that are too sharp or too uniform)
- Lighting setups that are too clean or dramatically stylized, with no natural variation
- Missing environmental interaction between objects — no contact shadows, no color bleeding
- Incorrect scale relationships between objects in the scene
- Absent atmospheric effects such as dust, moisture, or haze
- Camera settings that do not correspond to any real photographic equipment
The solution involves introducing controlled imperfections, using reference photography to guide lighting decisions, and ensuring all scene elements interact naturally with one another.
How does camera simulation affect photorealistic image quality?
Camera simulation in photorealistic rendering replicates the optical characteristics and limitations of real photographic equipment. These simulated imperfections are what make rendered images feel credible to viewers who are accustomed to seeing the world through camera lenses. Without camera simulation, even a technically flawless render retains a sterile, computer-generated quality that both trained and untrained eyes detect instinctively.
Key camera effects used in photorealistic rendering include:
- Depth of field — controlled by aperture settings, producing natural foreground or background blur
- Chromatic aberration — subtle color fringing around high-contrast edges, as seen in real lenses
- Vignetting — natural light falloff toward image corners
- Film grain or sensor noise — texture that matches the characteristics of the chosen camera system
- Focal length — affects perspective compression and spatial relationships between objects
- Motion blur and camera shake — adds authenticity in scenes where movement is relevant
Proper focal length selection and realistic aperture settings produce depth of field behavior that viewers recognize intuitively as photographic, reinforcing the credibility of the entire image. When evaluating a photorealistic conversion — whether from CAD data, physical samples, or existing photography — camera simulation settings are one of the primary benchmarks used to assess whether the output matches real-world photographic references.
How we help with photorealistic rendering
At 3Dimerce, we have spent over two decades perfecting photorealistic rendering techniques specifically for luxury and design-focused brands. Our visual product configuration platform delivers stunning, photorealistic imagery that strengthens premium brand positioning while providing the flexibility to showcase unlimited product variations — all rendered at exceptional speed.
Our approach combines:
- Advanced physically-based rendering (PBR) workflows that ensure authentic material behavior across every surface type
- Professional lighting setups calibrated for your specific product categories and brand aesthetic
- Seamless integration with your existing sales channels and content workflows
- Blazing-fast rendering performance that maintains visual quality across all devices
A representative example of our work: a European luxury furniture brand came to us relying on traditional studio photography that required 6 to 8 weeks per collection and could not support their growing configurator needs. We rebuilt their entire visual asset library using photorealistic 3D rendering, developing PBR material libraries for over 40 fabric and leather variants, calibrating HDR lighting environments to match their brand aesthetic, and integrating the output directly into their e-commerce configurator. The result was full variant coverage at launch, a content production cycle reduced to days rather than weeks, and a measurable uplift in configurator engagement. We also offer photorealistic conversion services for brands that want to transform their existing product photography or CAD files into fully photorealistic 3D renders — preserving every detail of the original while unlocking the flexibility of 3D.
Ready to transform your product visualization with photorealistic rendering that drives conversions? Contact our team to discover how our proven expertise can elevate your brand’s visual presence and streamline your content production workflow.
What is photorealistic conversion and how accurate can it be?
Photorealistic conversion is the process of recreating a physical product or existing photograph as a fully photorealistic 3D render — preserving every material detail, proportion, and finish with measurable accuracy. It is the bridge between the physical world and scalable 3D visualization, and it is how brands transition from traditional photography to a fully flexible, render-based content production model. The three primary inputs for a photorealistic conversion are product photography, CAD files, and physical samples — each serving a distinct purpose in building accurate geometry and material maps.
- Product photography provides lighting and finish references that inform material calibration.
- CAD files supply precise dimensional geometry that ensures proportional accuracy across every angle.
- Physical samples allow direct measurement and validation of material properties — color, reflectance, texture depth — against the rendered output.
Accuracy is validated through structured client review rounds and side-by-side comparisons with physical references, ensuring that the final render is not merely plausible but verifiably correct.
At 3Dimerce, we specialize in photorealistic conversion for luxury and design brands where material fidelity is a non-negotiable standard. Whether the starting point is a product photograph, a CAD file, or a physical sample, our conversion process guarantees that every finish, proportion, and surface characteristic is reproduced with the precision that premium product categories demand. For brands evaluating whether a photorealistic conversion is accurate enough to replace traditional photography, our structured approval workflow provides the confidence to make that transition with certainty.
Frequently Asked Questions
How long does it typically take to set up photorealistic rendering for a product catalog?
Initial setup for photorealistic rendering usually takes 2-4 weeks, depending on your product complexity and catalog size. This includes material definition, lighting calibration, and workflow integration. Once established, individual product variants can be rendered in minutes rather than hours, making it highly scalable for large catalogs.
What's the biggest mistake brands make when transitioning from photography to 3D rendering?
The most common mistake is trying to replicate photography exactly instead of leveraging 3D’s unique advantages. Brands often over-perfect their renders, removing the natural imperfections that make images feel authentic. Focus on maintaining photographic authenticity while utilizing 3D’s flexibility for variations and customization.
Can photorealistic rendering work effectively on mobile devices and slower internet connections?
Yes, modern photorealistic rendering platforms use advanced optimization techniques like progressive loading and adaptive quality scaling. The key is choosing a solution that balances visual fidelity with performance, ensuring fast load times while maintaining the photorealistic quality that drives conversions.
How do you measure the ROI impact of upgrading to photorealistic product visuals?
Track conversion rate improvements, reduced return rates due to expectation mismatches, and time savings in content production. Most brands see 15-30% conversion rate increases within 3-6 months — figures typically measured through A/B testing that compares conversion rates before and after photorealistic render implementation, controlling for traffic source and seasonality. Return rate reductions of 10-20% are also commonly reported, as accurate renders reduce expectation mismatches at delivery. Also measure customer engagement metrics like time spent viewing products and configurator interaction rates.
What technical requirements do I need to implement photorealistic rendering in my existing workflow?
Most modern photorealistic rendering solutions integrate through APIs and don’t require significant technical infrastructure changes. You’ll need 3D product models, material specifications, and integration with your product management system. Cloud-based platforms handle the heavy computational requirements, so no specialized hardware is needed on your end.
How do you handle complex materials like fabric, leather, or transparent surfaces in photorealistic rendering?
Complex materials require specialized shader setups and multiple texture maps. Fabrics need micro-normal mapping for weave patterns, leather requires subsurface scattering for authentic depth, and transparent materials need proper refraction calculations. Professional rendering platforms have pre-built material libraries that handle these complexities automatically.
What's the difference between photorealistic rendering and high-quality 3D visualization?
Photorealistic rendering specifically aims to be indistinguishable from photography through physically accurate light simulation and material behavior. High-quality 3D visualization might look impressive but doesn’t necessarily follow real-world physics. Photorealism requires precise attention to lighting physics, material properties, and subtle imperfections that create authentic visual results.