3D rendering software transforms digital models into photorealistic images by calculating light, shadows, textures, and materials. For beginners, the best rendering software combines ease of use with professional results — typically Blender for free options, Cinema 4D for paid solutions, or specialized tools like KeyShot for product visualization. The key is choosing software that matches your learning style, project goals, and budget while providing room to grow your skills.
Why is poor rendering quality costing you potential clients?
Subpar renders immediately signal amateur work to potential clients, especially in competitive markets like furniture and interior design, where visual quality directly impacts purchasing decisions. Blurry textures, unrealistic lighting, or artificial-looking materials can destroy credibility before prospects even consider your design skills. Professional clients expect renders that match photography standards — anything less suggests you cannot deliver the premium experience they need for their brand. The solution lies in mastering fundamental rendering principles: proper lighting setup, material accuracy, and composition rules that create believable, compelling visuals from day one.
How is choosing the wrong software holding back your creative potential?
Many beginners get trapped in overly complex software that takes months to master basic functions, killing momentum and creativity when they should be focusing on design fundamentals. Others choose oversimplified tools that hit creative ceilings quickly, forcing expensive software switches later. This mismatch between software capabilities and learning curve wastes precious time and energy that could be spent developing actual rendering skills. The fix is selecting software that grows with you — offering simple workflows for immediate results while providing advanced features you can unlock as your expertise develops.
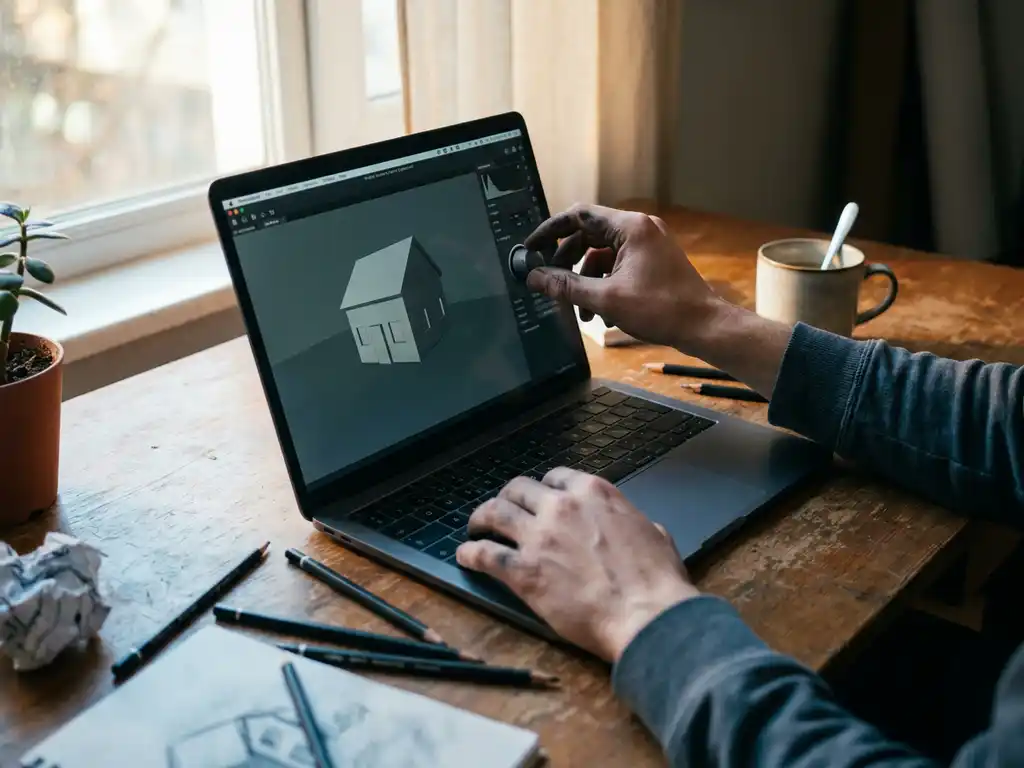
What is rendering software and why do beginners need it?
Rendering software converts 3D models into 2D images by simulating how light interacts with surfaces, materials, and environments. Think of it as a digital camera that captures your 3D scene from any angle, with complete control over lighting, materials, and atmospheric effects.
Beginners need rendering software because it bridges the gap between imagination and visual communication. Whether you are designing furniture, architectural spaces, or products, clients and stakeholders need to see realistic representations of concepts before committing to production. Raw 3D models appear flat and lifeless — rendering brings them to life with proper lighting, textures, and atmospheric details that make designs feel tangible and desirable.
Modern rendering also enables rapid iteration and experimentation. You can test different materials, lighting scenarios, and camera angles without physical prototypes or expensive photoshoots. This flexibility accelerates the design process while reducing costs, making professional-quality visualization accessible to designers at any experience level.
What’s the difference between free and paid rendering software?
Free rendering software like Blender offers surprisingly powerful capabilities, including advanced lighting systems, material editors, and animation tools that rival expensive alternatives. The trade-off typically involves steeper learning curves, less intuitive interfaces, and limited customer support. However, Blender’s massive community provides extensive tutorials and resources that can substitute for official support.
Paid software such as Cinema 4D, 3ds Max, or specialized tools like KeyShot prioritize user experience with streamlined workflows, professional customer support, and industry-standard features. These tools often include preset materials, lighting rigs, and automated processes that accelerate production timelines. The investment pays off through reduced learning time and more predictable results.
The choice depends on your priorities: free software rewards patience and self-directed learning with professional capabilities, while paid options offer immediate productivity gains and professional support structures. Many successful professionals start with free tools to learn fundamentals before upgrading to paid software for client work.
Which rendering software has the easiest learning curve?
KeyShot stands out for beginners due to its drag-and-drop material system and real-time rendering preview. You can achieve professional results within hours by simply applying preset materials and adjusting basic lighting. The software handles complex calculations automatically, letting you focus on composition and material choices rather than technical settings.
Cinema 4D also ranks highly for accessibility, offering intuitive modeling tools alongside its rendering engine. The interface feels familiar to users of other creative software, and the extensive preset library helps beginners achieve polished results quickly. Real-world examples demonstrate how professionals use Cinema 4D for everything from product visualization to architectural rendering.
For free options, Blender requires more initial investment but provides comprehensive learning resources through its active community. The software’s node-based material system becomes intuitive once you understand the basic concepts, and recent interface improvements have significantly reduced the learning barrier.
How do you choose rendering software for product visualization?
Product visualization demands accuracy in materials, lighting, and proportions since customers make purchasing decisions based on these renders. Start by evaluating your specific product types — furniture requires different material capabilities than electronics or jewelry.
Consider workflow integration with your existing tools. If you model in specific CAD software, ensure your rendering choice imports those file formats cleanly. Many product designers prefer KeyShot or Cinema 4D because they handle CAD imports well and provide extensive material libraries for common product materials like metals, plastics, and fabrics.
Evaluate rendering speed versus quality trade-offs. Product visualization often requires multiple iterations and variations, so software that provides quick preview renders while maintaining final output quality becomes essential. Professional solutions often balance these requirements through optimized rendering engines designed specifically for commercial applications.
What computer specs do you need for rendering software?
Modern rendering software benefits most from powerful graphics cards (GPUs) rather than just fast processors. NVIDIA RTX series cards with dedicated ray tracing cores significantly accelerate render times in supported software. Aim for at least 8GB of VRAM for complex scenes, though 12GB or more provides comfortable headroom for professional work.
RAM requirements scale with scene complexity — 16GB handles most beginner projects comfortably, while 32GB supports larger, more detailed scenes without slowdowns. Fast SSD storage improves software responsiveness and file loading times, particularly important when working with high-resolution textures and complex models.
CPU specifications matter for final render calculations and multitasking. Modern 8-core processors provide good performance for most rendering tasks, though higher core counts benefit users rendering multiple projects simultaneously. The key is balancing GPU power for interactive previews with sufficient CPU and RAM for final output quality.
How 3Dimerce helps with professional product visualization
We specialize in creating stunning 3D product configurators that eliminate the traditional challenges of rendering software selection and technical complexity. Our platform delivers blazing-fast, photorealistic product visualization without requiring in-house rendering expertise or expensive hardware investments.
Our solution provides:
- Professional-grade rendering quality optimized for luxury and design-focused brands
- Seamless integration with existing e-commerce platforms and sales environments
- Real-time product customization with instant visual feedback
- Scalable visual content generation across entire product ranges
- Omnichannel consistency from web to retail environments
Ready to elevate your product visualization beyond traditional rendering software limitations? Contact our team to discover how our tailored 3D configurator solutions can transform your product presentation and drive measurable results for your business.
Frequently Asked Questions
How long does it typically take to learn rendering software well enough to produce client-ready work?
With consistent practice, most beginners can produce basic client-ready renders in 2-3 months using beginner-friendly software like KeyShot or Cinema 4D. However, mastering advanced techniques like complex lighting setups and photorealistic materials typically takes 6-12 months. The key is starting with simple projects and gradually increasing complexity while building a portfolio of your progress.
What are the most common mistakes beginners make when starting with rendering software?
The biggest mistakes include over-lighting scenes (making everything too bright), using unrealistic material settings, and neglecting composition principles. Many beginners also try to tackle complex projects too early instead of mastering fundamentals like proper camera angles, basic lighting setups, and material application. Start simple and focus on getting lighting and materials right before adding complexity.
Can I use rendering software on a laptop, or do I need a desktop computer?
Modern gaming laptops with dedicated GPUs can handle rendering software effectively, though they may run hot during intensive renders and have shorter battery life. Look for laptops with RTX graphics cards, at least 16GB RAM, and good cooling systems. Desktop computers generally offer better price-to-performance ratios and easier upgrades, but laptops provide valuable portability for client presentations.
How do I know when it's time to upgrade from free to paid rendering software?
Consider upgrading when you're consistently hitting limitations in your current software, spending too much time on technical workarounds instead of creative work, or when clients require specific industry-standard formats and workflows. If you're earning money from rendering work and time savings would pay for the software within 2-3 months, it's usually worth the investment.
What's the best way to practice rendering skills without access to professional 3D models?
Start with free model libraries like Sketchfab, TurboSquid's free section, or Blender's built-in models. Practice fundamental skills by re-lighting and re-texturing existing models rather than creating from scratch. Focus on recreating real-world lighting scenarios from photographs, which builds both technical skills and artistic eye without requiring modeling expertise.
Should I learn multiple rendering software programs or master one first?
Master one program thoroughly before exploring others. Deep knowledge of one tool teaches you fundamental rendering principles that transfer between software, while jumping between programs early often leads to surface-level understanding of all tools. Once you're proficient in your primary software, learning additional programs becomes much faster since you'll understand the core concepts.
How do I handle client feedback and revisions efficiently in rendering projects?
Save your scene files with organized layers and clearly labeled materials so you can quickly adjust specific elements. Create a revision workflow where you save incremental versions and document changes made. Establish clear communication about what types of changes are included in your original quote versus additional charges, and always provide low-resolution preview renders for approval before final high-quality outputs.